Connecting to MCPX
Once your MCPX service is up and running, connect your MCP servers and clients. We recommend to use the MCPX Control Plane or you can connect manually using the following steps:
Connect Your MCP Servers to MCPX
Configure app.yaml (Optional)
Create and update your app.yaml configuration file:
cd config
touch app.yaml
For Example:
permissions:
  default:
    allow: []
  consumers: {}
  toolGroups: []
  auth:
    enabled: false
  toolExtensions:
    services: {}
See the app.yaml configuration guide for detailed information.
Configure mcp.json
Create and update your mcp.json configuration file:
touch mcp.json
For example:
{
  "time": {
    "command": "uvx",
    "args": ["mcp-server-time", "--local-timezone=America/New_York"]
  }
}
See the mcp.json configuration guide for detailed information. Make sure to define any necessary Environment Variables.
Once MCPX is running with your MCP servers, connect your client to MCPX instead of individual MCP servers.
Connect Your Client to MCPX
Setup the Connection to MCPX
Configure your client to connect to MCPX using the following:
Go to the Settings in your AI agent platform, for example, Claude or Cursor, and edit the MCP configuration.
{
  "mcpServers": {
    "mcpx": {
      "command": "npx",
      "args": [
        "mcp-remote",
        "http://localhost:9000/sse",
        "--header",
        "x-lunar-consumer-tag: Claude"
      ]
    }
  }
}
Make sure to configure the args for your use case, change x-lunar-consumer-tag to your desired Agent/application name.
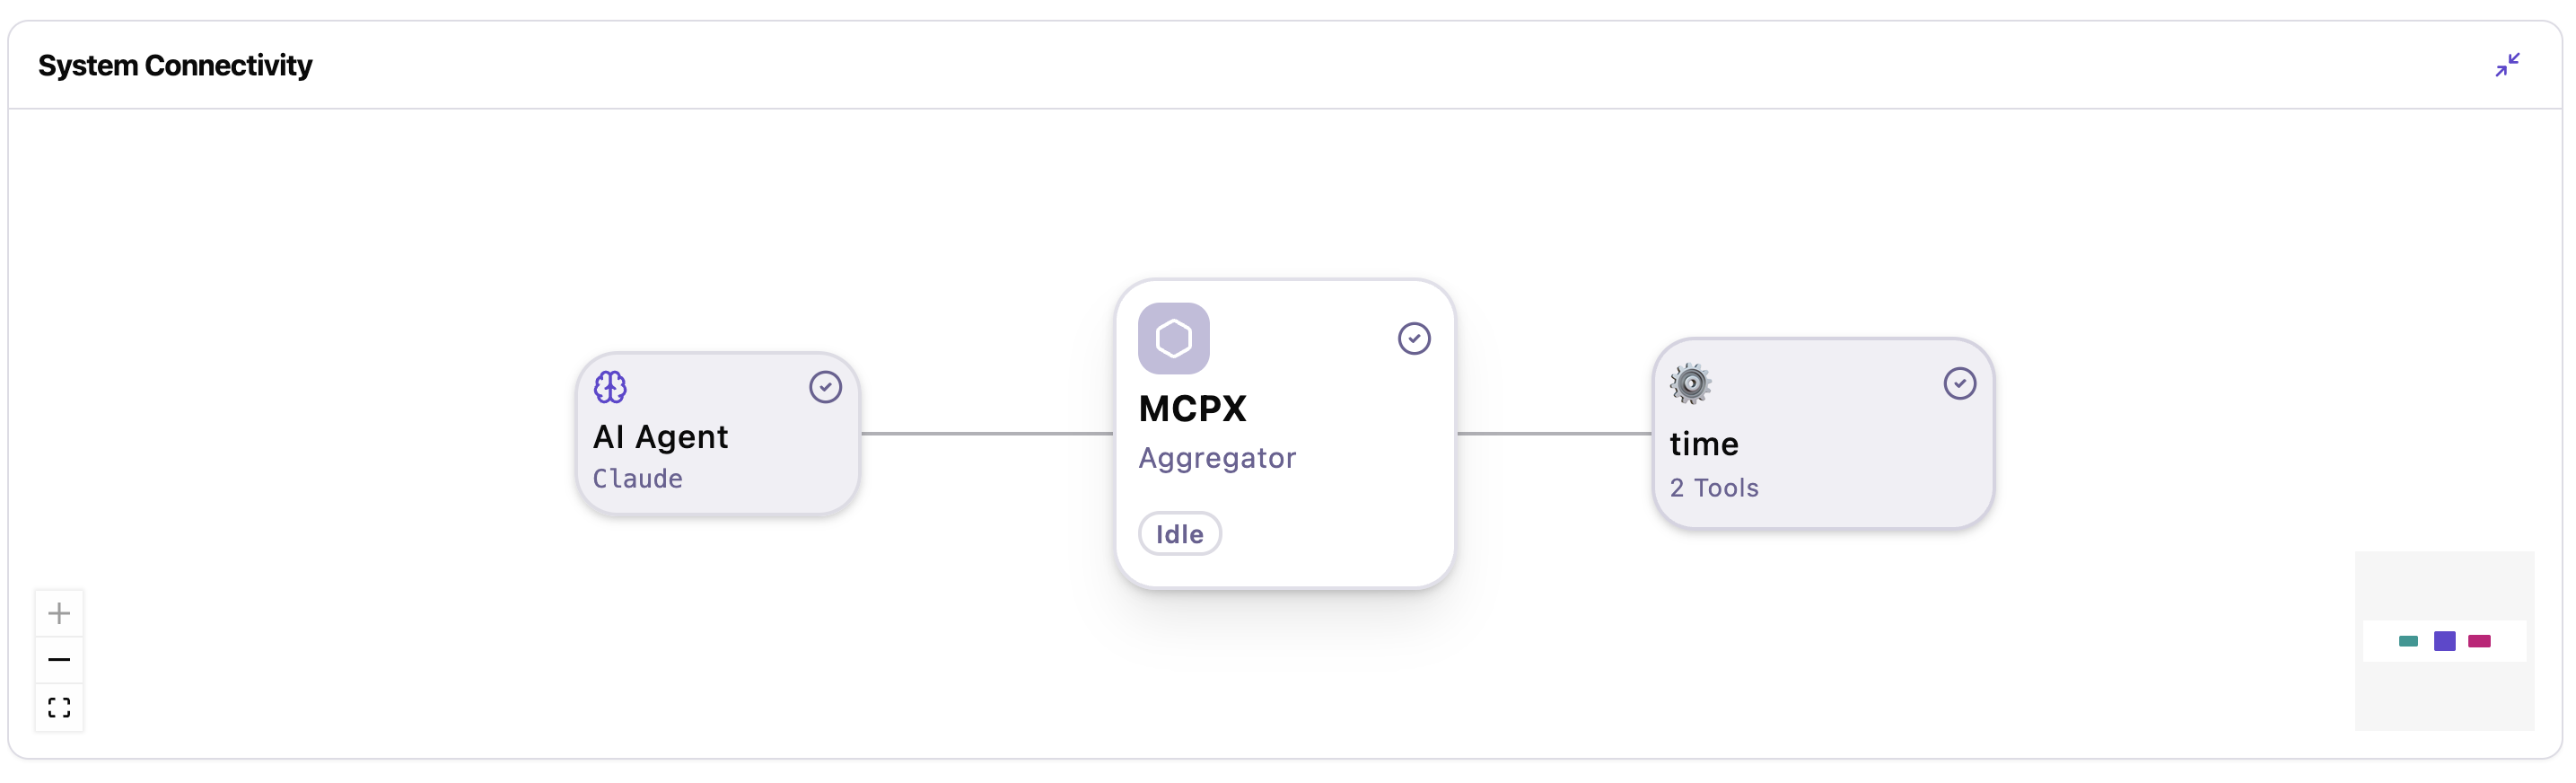
Expected Result
Once connected, you will see your connected agent and server in the MCPX Control Plane.
Once connected, you can use the Time tool through MCPX. For example:
Ask Claude: "What is the current time in Tokyo, Japan?" Claude will connect to the Time server and return the current time in Tokyo.