Quick Start Guide
Make sure Docker is installed and running on your machine. MCPX uses Docker to launch its underlying MCP servers. You can use Docker Desktop or any local Docker engine. To confirm Docker is running, run:
docker version
Create configuration file
Create your config file in your desired folder where your app.yaml and mcp.json will be saved to:
mkdir config
cd config
These configuration files control your MCPX deployment,
mcp.jsondefines which MCP servers to launch, whileapp.yamlsets global settings like authentication, environment variables, and tool customizations. Once you have completed set up, you can populate your app.yaml and mcp.json using the MCPX Control Plane.
Run Docker command
In your the config file you just created, run MCPX with the following configuration, exposing ports 9000, 3000 and 5173:
docker run --rm --pull always --privileged -v ./:/lunar/packages/mcpx-server/config -p 9000:9000 -p 5173:5173 -p 3000:3000 --name mcpx us-central1-docker.pkg.dev/prj-common-442813/mcpx/mcpx:latest
Without
--privilegedaccess MCPX will not be able to run Dockerized MCP Servers.
Exposing port 3000 is optional and used for Prometheus metrics scraping.
Go to MCPX Control Plane
Connect to the MCPX Control Plane
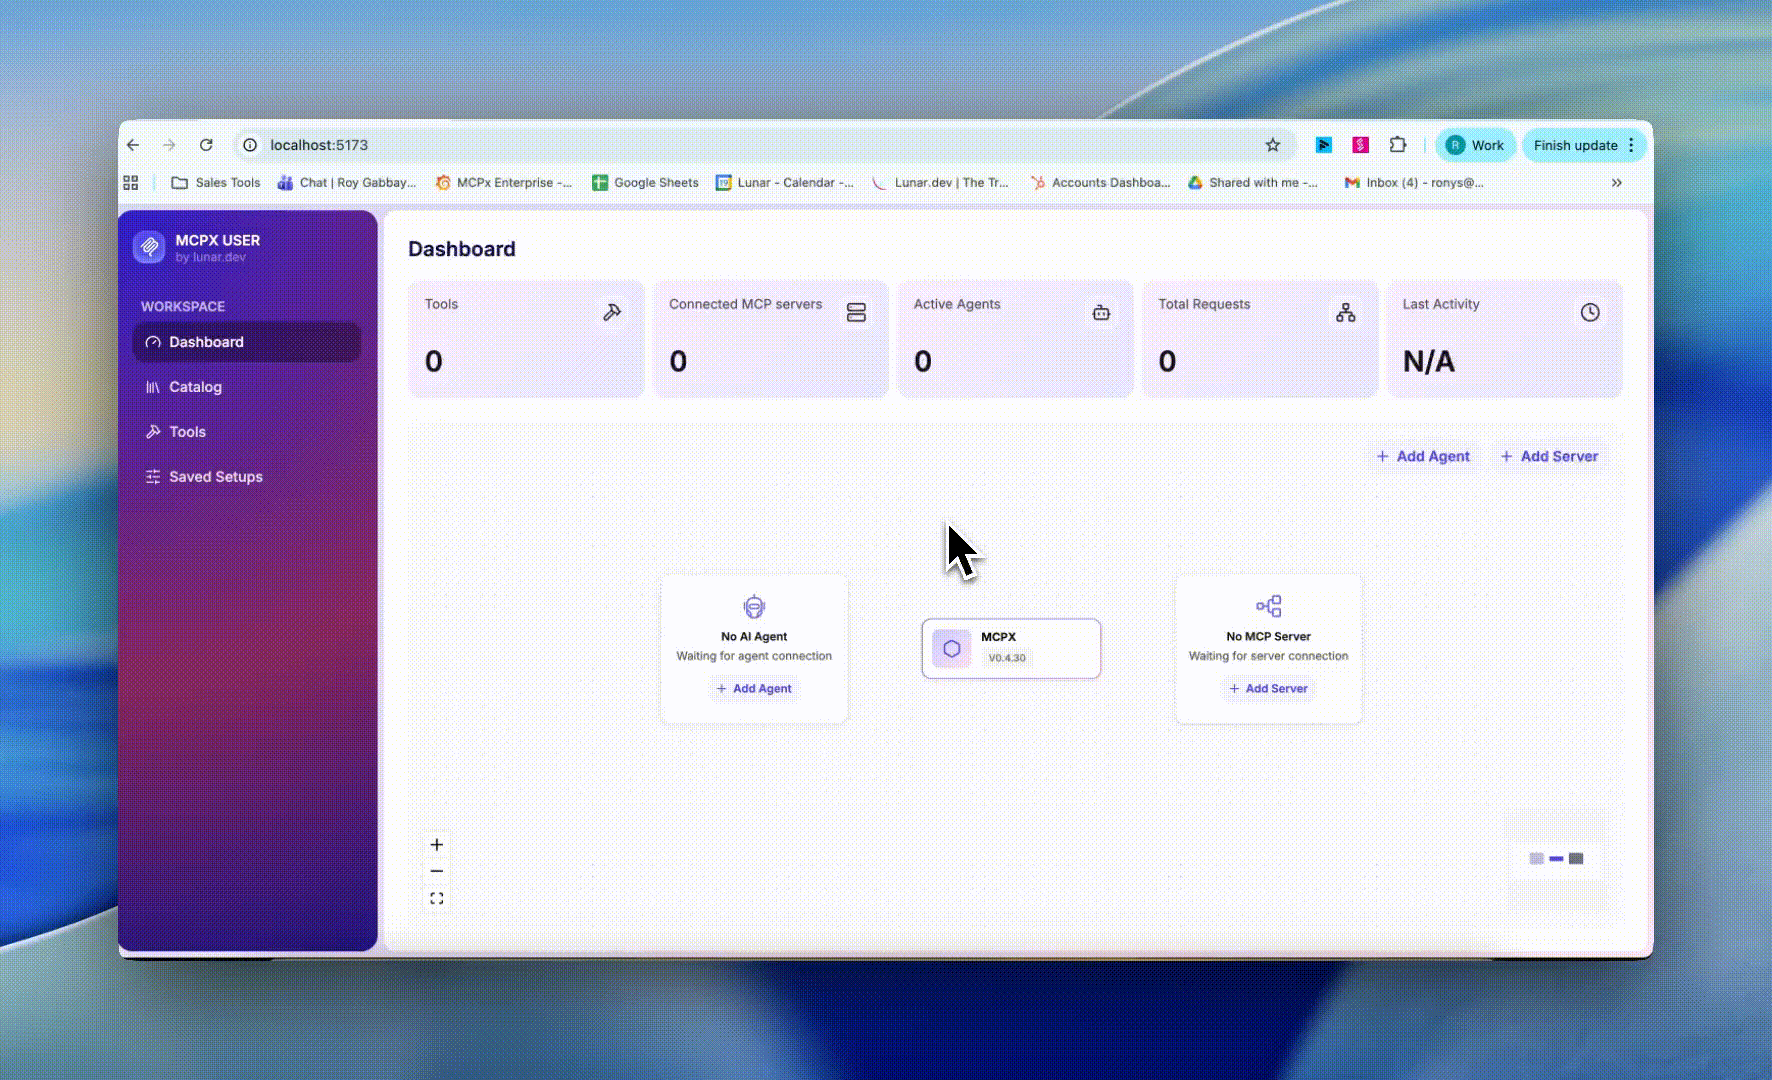
You have now set up your MCPX. Access the MCPX Control Plane by navigating to http://localhost:5173/.
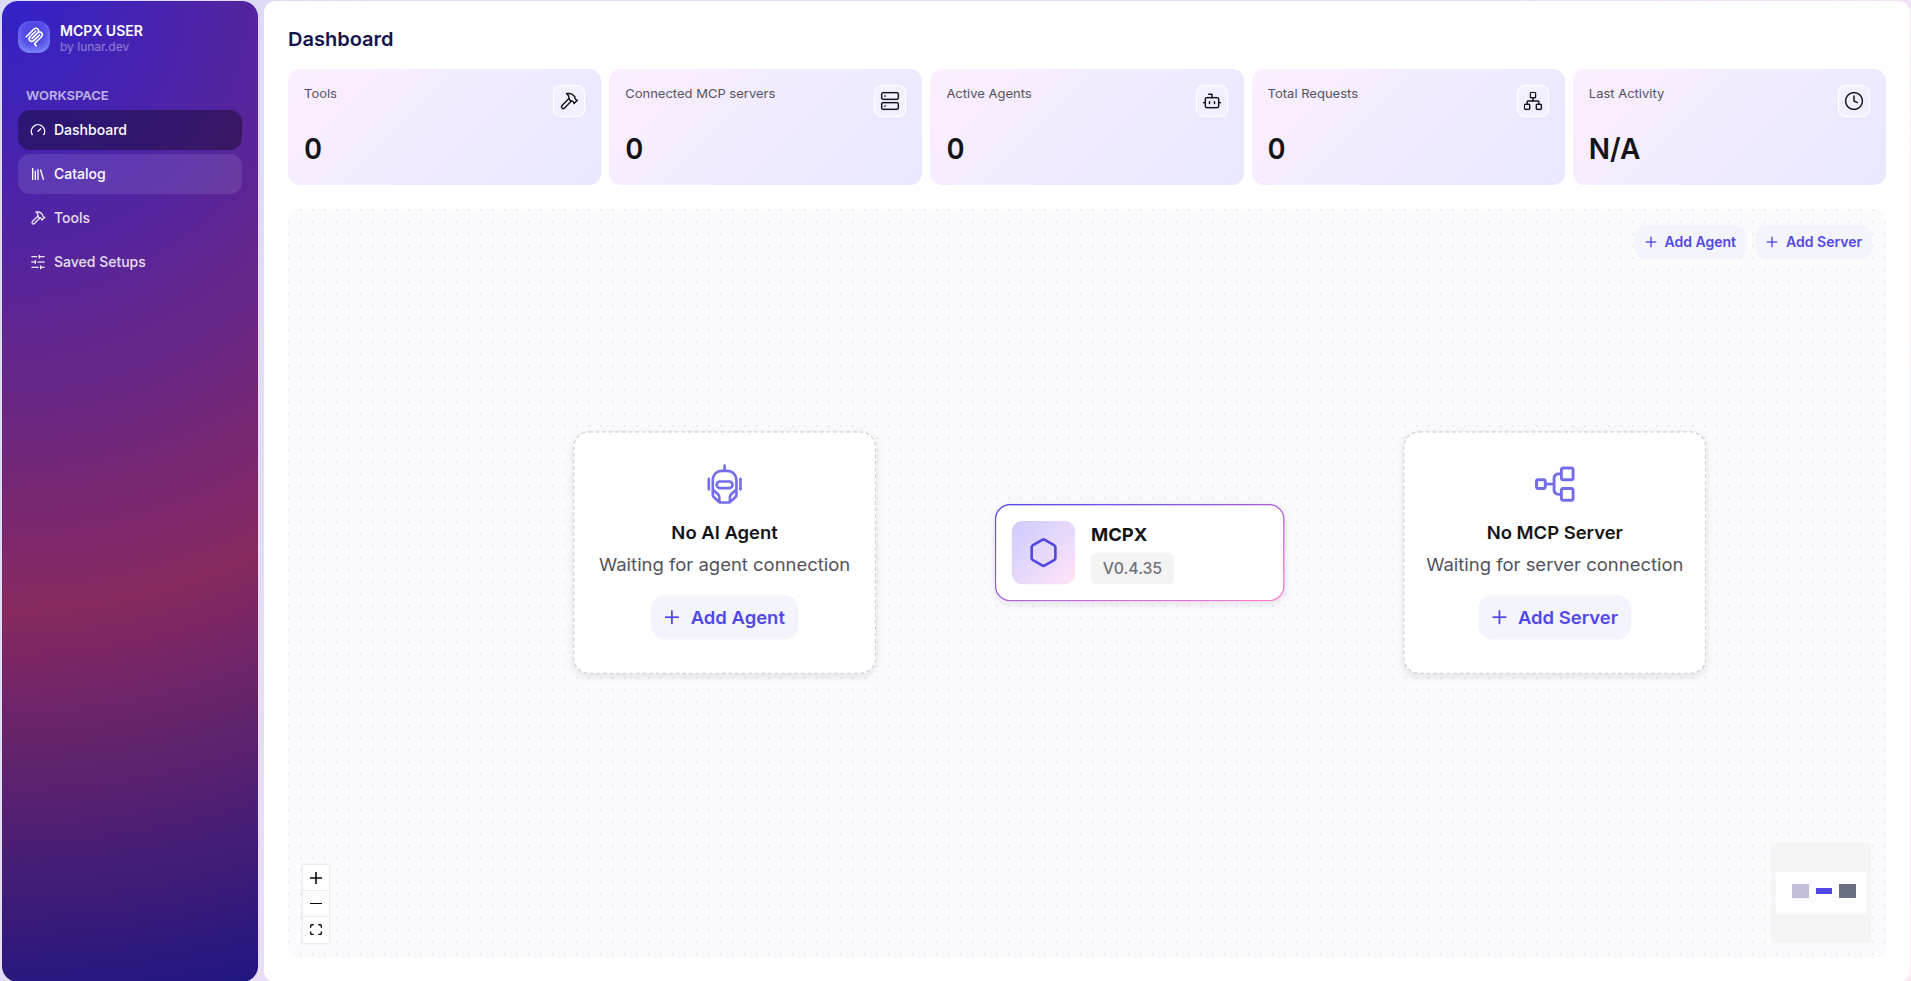
Note: At the moment, MCPX Control Plane only runs at http://localhost:5173/
Connect your Server
Connect to your MCP server using the MCPX Control Plane
Once you are in the MCPX Control plane, you can connect your sever. Simply click on "Add Server" and select a server from the MCP Catalog.
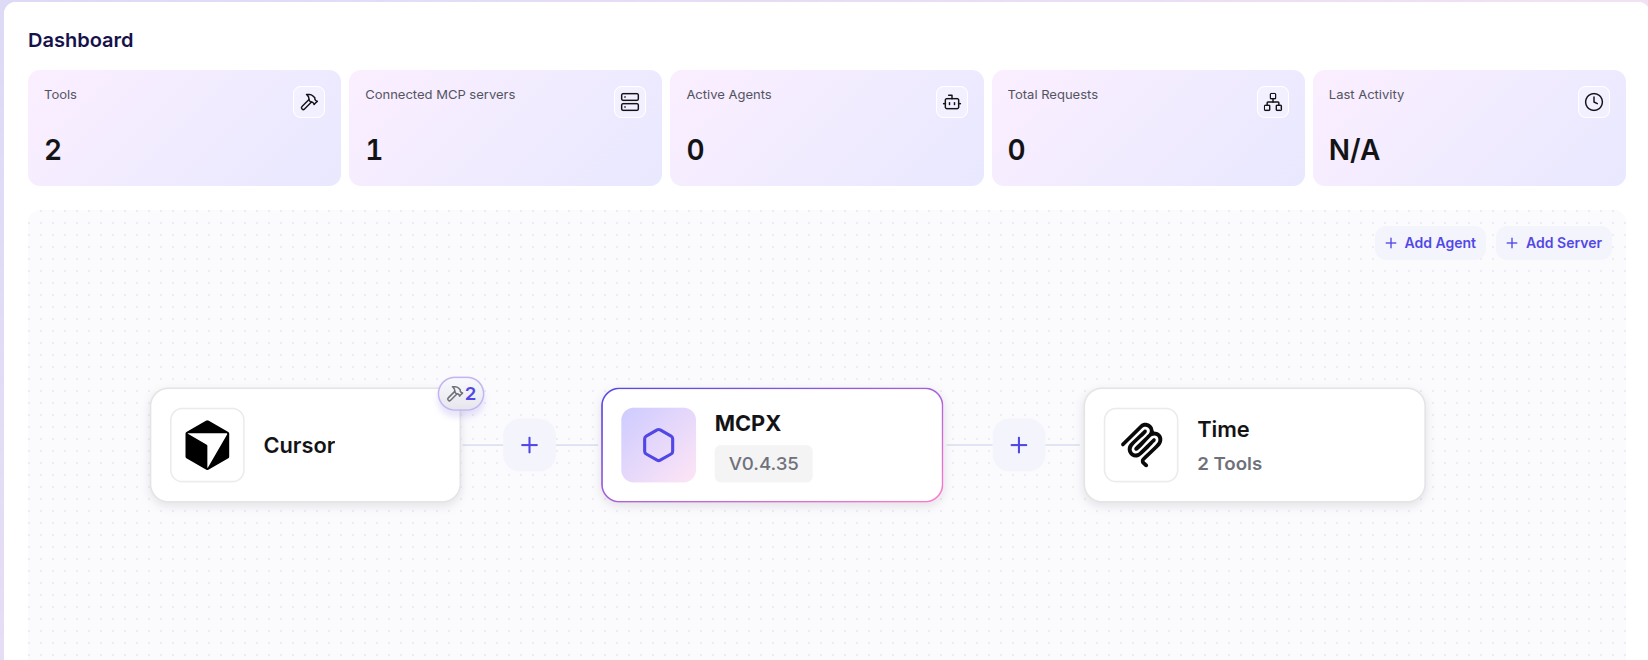
Once connected, the Time server will appear in the MCPX Control Plane. You will be able to use the Time server’s tools after connecting your clients.
You can choose to add a remote server and authenticate using MCPX OAuth
Connect your Client to MCPX
Configure your client to connect to MCPX using the following:
Go to the Settings in your AI agent client (see Connect your client to MCPX) and edit the MCP configuration.
Make sure to restart your client after saving the configuration.
{
  "mcpServers": {
    "mcpx": {
      "command": "npx",
      "args": [
        "mcp-remote@0.1.36",
        "http://localhost:9000/mcp"
      ]
    }
  }
}
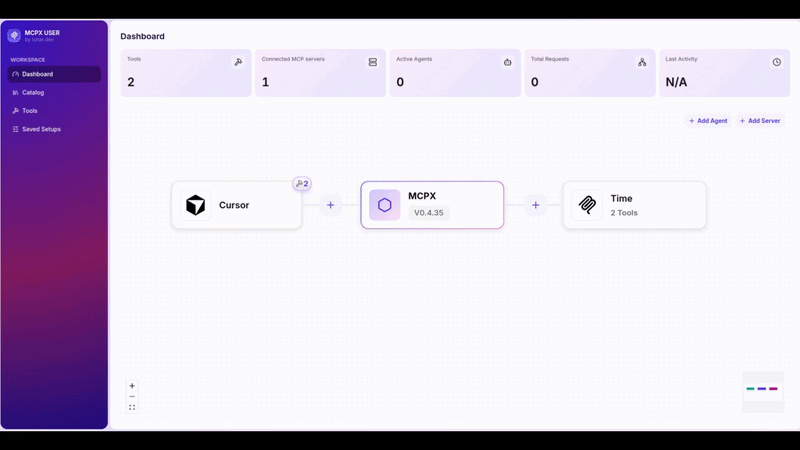
Once connected, you will see your connected agent and server in the MCPX Control Plane.
Congratulations!
You have now set up your MCPX!
You can now ask your Client: "What is the current time in Tokyo, Japan?" Your client will connect to the Time server and return the current time in Tokyo.